


The National Women’s Law Center fights for gender justice—in the courts, in public policy, and in our society.
Building Community Through Food: Recipes From Our Family Kitchens
Authors


Building Community Through Food: Recipes From Our Family Kitchens
It’s Asian American Native Hawaiian Pacific Islander Heritage Month and what better way to celebrate than with food? Food brings us closer to our families, it gives us comfort, it reminds us where our families come from, and it’s something that’s meant to be shared. So here are some recipes from some of the NWLC from our families and home kitchens to yours. Enjoy!
Annama’s Uppuma: Contributor, Liz Chacko
Shevayachi Kheer (Vermicelli Kheer): Contributor, Tanuja Tase
Elevated Instant Noodles: Contributor, Selina Tran
Kodi Pulusu (Andhra Chicken Curry): Contributor, Vasu Reddy
Annama’s Uppuma
Contributor: Liz Chacko
What this recipe means to you: Uppuma (also known as uppumavu or upma) is a savory breakfast porridge that comes from Kerala and other parts of south India. My mom, Annama, made it frequently for our family when I was young. After I gave birth to each of my own two children, Mom came to stay with me and made big batches of uppuma. Uppuma, when made with enriched farina, as Mom always made it back in the day, is a good source of iron. So, it is the perfect food for when one is recuperating after childbirth. But it’s also great for anyone looking for a quick, easy, and nutritious meal.
Ingredients:
1 tablespoon vegetable oil
2 cups uncooked Cream of Wheat (farina)
½ yellow onion, chopped
2 green chilis, chopped (deseeded if you’d like less spice)
½ teaspoon mustard seeds (optional)
raw cashews (¼ cup to ½ cup, per your preference)
1-2 tablespoons urud dal
a little over 3 cups salted boiling water
handful fresh chopped cilantro
Method:
- Warm oil over medium heat. If using mustard seeds, add to oil. When mustard seeds splutter, add the onion and green chilis.
- After onion has softened a bit, add cashews and stir.
- After a minute, throw in the dal and stir for 2 to 3 minutes.
- Lower the heat and add the cream of wheat.
- Toast the cream of wheat for about 2 minutes, stirring around to make sure it doesn’t burn.
- Add boiling salted water and cover for about 2 minutes.
- Uncover, stir, and top with cilantro.
Serves 4. Enjoy with naranga achar or banana.
Notes from Mom: You have a lot of freedom with uppuma. The internet has a lot of different recipes using all kinds of ingredients. Some variations we have tried and like: substitute peanuts for the cashews (just cook them a little longer); substitute bulgar wheat for cream of wheat for a more “toothsome” uppuma; substitute quinoa for cream of wheat for more protein; add unsweetened coconut when you are sauteing the onion.
Shevayachi Kheer (Vermicelli Kheer)
Contributor: Tanuja Tase
It’s raining. You’d like to have something warm, something sweet to keep you company while you look out the window and dream about home. You call your father and ask him for his kheer recipe, the one he’d make for your birthday every year. Here’s what he tells you in a mix of Marathi and English.
Ingredients
These should be available at your neighborhood South Asian (Indian Subcontinental) stores.
Optional: As a child, you crept through the aisles of the “Indian Store,” playing hide and seek with your sister and feasting on Samosas and Kurkure at home afterward.
Thin wheat vermicelli (1 cup)
Sugar (2 cups)
Cardamom (15 pods) Note: For maximum flavor, use pods rather than cardamom powder from the store.
Cashew bits (40 pieces)
Almond bits (20 pieces)
Sweet butter (1 stick)
Whole milk (half a gallon)
15 strands of saffron
Directions:
- Split open the cardamom pods and remove the seeds. Grind or crush cardamom seeds into fine powder. Optional: This used to be your job for the day. Before you learned carefulness. You’d sit at the kitchen counter, a gold-colored mortar and pestle heavy in your hands. You’d watch Disney Channel as you ground the cardamom seeds and caught your fingers under the pestle’s onslaught.
- Break thin vermicelli strands into smaller pieces (roughly 1/4 to 1/2 inch length).
- In a pot large enough for 1 gallon of milk (You can adjust the quantities to make a smaller batch).
- Heat 1 stick of butter on low heat so it doesn’t burn. Melt butter for 5 minutes until it turns a little darker.
- Add Cashew and Almond bits. Make sure to keep on stirring so that they don’t burn. Optional: Your father always makes you a separate batch without cashews or almonds, spoiling you, because you like it better that way.
- Add vermicelli pieces to the melted butter (or ghee) and keep stirring on low heat.
- After 5 to 10 minutes of stirring, add sugar and cardamom powder. Again, keep on stirring on low heat, making sure the mixture is not burnt. Once the sugar has been added, the mixture is going to turn into sticky lumps. (This is okay!)
- Heat the milk in a separate pot until it boils. (Alternatively: you can heat the milk in a microwave in multiple batches while you’re continuing to stir.)
- Add milk to the mixture as each batch of milk is heated.
- Increase the heat from low to medium-low or medium. Continue stirring.
- Add saffron strands. Keep on stirring frequently. The sticky lumps of the mixture should melt, and it should turn into a smooth liquid.
- Add more sugar if you desire. It’s better to make it sweeter since the taste is a little less sweet once the kheer is not boiling.
- Let the liquid come to a boil. Let it rest until you can eat it without burning your mouth. Optional: You raise your eyebrows when he says this. Your father drinks his numerous cups of tea at boiling temperatures, an act inspiring both awe and terror in you.
- Enjoy! Optional: You take pictures of your kheer to send to your parents on WhatsApp.
- The kheer should be kept in the refrigerator if it’s not consumed all at once. When enjoying leftovers, you can enjoy it cold, straight out of the refrigerator or you can heat it up. Optional: In your opinion, your sister is a menace for enjoying her kheer cold. You heat a bowl in the microwave, watching it carefully, yet just as you look away, it spills over. You have two servings.
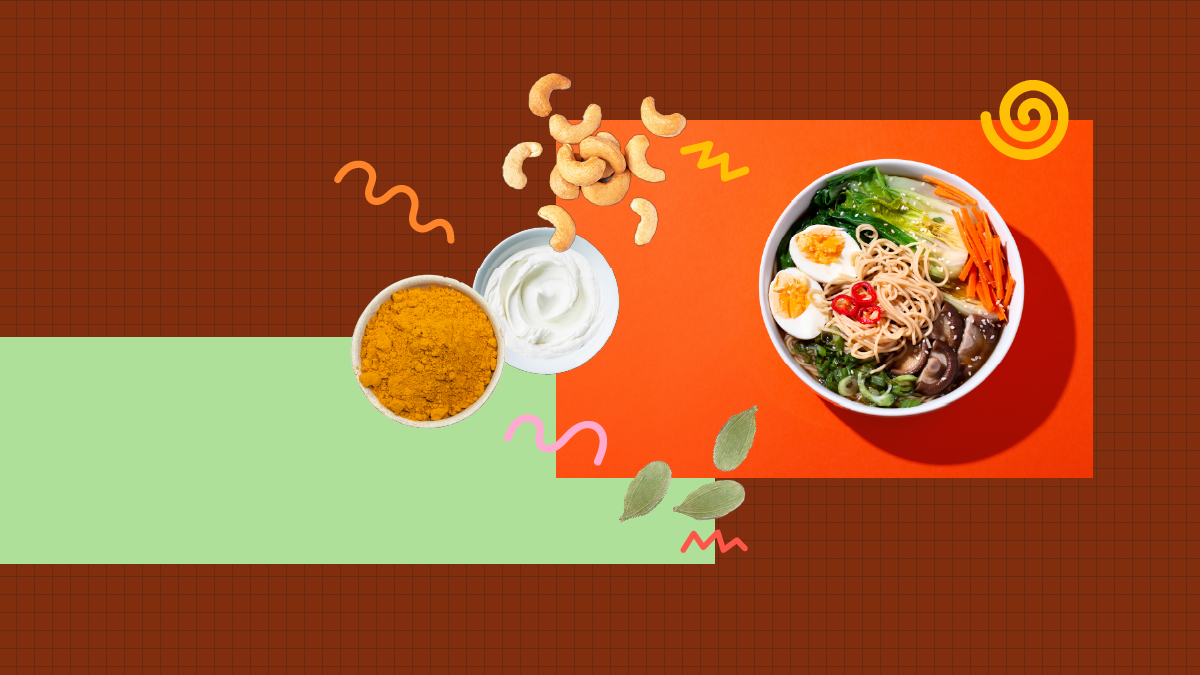
Elevated Instant Noodles
Contributor: Selina Tran
Just like other Chinese or Vietnamese immigrants I knew, growing up in my house, we ALWAYS had a stash of instant noodles. They’re cheap, they’re easy, and when my parents were working or too busy to cook dinner, my sister and I could easily whip this up ourselves. Go to any Asian grocery store and there are whole aisles dedicated to these fast, easy, and tasty noodles. When I lived in Vietnam as an adult, one of my favorite things to do was to go to the grocery store and pick out an instant noodle pack I’ve never tried before. There are so many options out there! Instant noodles remind me of after school snack time and they remind me of my family. There’s something so cozy about lounging on my couch and eating a bowl of instant noodles on a lazy day.
While this isn’t a family recipe, me and instant noodles have a deep love, so here’s some ways to add a lil somethin’ somethin’ to your instant noodles.
For brothy soup instant noodles:
My favorite is the Nongshim Shin Ramyun. The Shin black to be specific.
- Add a soft/medium boiled egg (a 6-minute boiled egg is the sweet spot for me).
- Chop up some green onion to add on top.
- Stir-fry some shitake mushrooms in your preferred method. I usually throw chopped shitake mushrooms in sesame oil, soy sauce, and red pepper flakes to add to your bowl.
- Cure an egg yolk to add to your bowl. (Youv’ll need to do this ahead of time. I usually make a bunch so I have a stash to put on instant noodles or rice dishes.)
- Cook up some bok choy or leafy greens and add them.
- Add some shredded carrots.
- Add some cooked corn.
- Add your preferred protein.
- Do the viral kewpie mayo treatment.
For non-brothy instant noodles:
My all-time favorite is the brand Indomie, specifically the mi goreng flavor. Our local Giant carries them, which was a game-changer for me when I found out since I have yet to see this brand at any of the local Asian grocery stores near me. I tried these when I was in Indonesia at the urging of my Indonesian friends and have never looked back.
- You can do all the above to your non-broth instant noodle, excluding the kewpie mayo treatment.
- Add a fried egg on top.
- Add some raw cut bell pepper.
- Add some chopped peanuts or your preferred nut on top and mix it in.
- Sautee some garlic and add it on top.
- Squeeze some lime juice on top.
- Need more spice? Add Sriracha or your fave hot sauce.
Kodi Pulusu (aka Andhra Chicken Curry)
Contributor: Vasu Reddy
When I was a child, my mom would mash this chicken together with rice into these perfect bite-sized balls of deliciousness and pop them into my mouth by hand. That care continued even into my teenage years—there I would be, lying sick on the couch, or trying desperately to finish a long-procrastinated school paper, and mom would come by with some bite-sized relief.
It took years to get her to write out this recipe because she makes it from memory and never measures out ingredients—a struggle with which I’m sure my fellow children of immigrants can relate!
1 pound boneless skinless chicken breast, cut into 1-inch pieces (I actually prefer to use thighs in this recipe, but this is heresy if you ask my mom)
1 tablespoon vegetable or other neutral oil
¼ medium size onion, roughly chopped
1 tomato, roughly chopped
½ teaspoon ginger and garlic paste
pinch of turmeric
1 teaspoon chili powder
1 teaspoon curry powder
1 teaspoon coriander powder
1 teaspoon salt
½ cup coconut milk
1 tablespoon plain yogurt
Directions:
- Heat the oil on medium heat for 2 minutes in a sauce pot.
- Add onions carefully without burning your hands. Onion may splatter, so be careful.
- Brown the onions for one minute, add tomatoes, stir well and let it cook for 2 minutes.
- Add ginger garlic paste, turmeric, chili powder, curry powder, coriander powder, and salt; mix well and let it cook for one minute.
- Add yogurt and chicken pieces and mix well and let it cook for 2 minutes.
- Add water, cover and let it cook on medium heat for 30 to 40 minutes.
- Serve with rice.Notes: If it looks too dry at the end, you can add one tablespoon of water. You can always add more salt and chili powder if it is too bland at the end as long as you cook it for 5 more minutes. You can do with whatever spices you have as long as you have chili powder and salt.